How To Sharpen A Seam Ripper?
If you own a sewing machine and are looking to get the best use out of it, then you need to have a seam ripper. Seam rippers are used to remove stitches from fabric and can make sewing a lot easier. However, if you don’t know how to sharpen a seam ripper, you will struggle to get the best use out of it.
In this article, we’ll cover everything you need to know about the sharpening process for a seam ripper, from choosing the right tool to getting it sharpened by a professional. So don’t wait any longer – get your seam ripper sharpened today!

What Is A Seam Ripper?
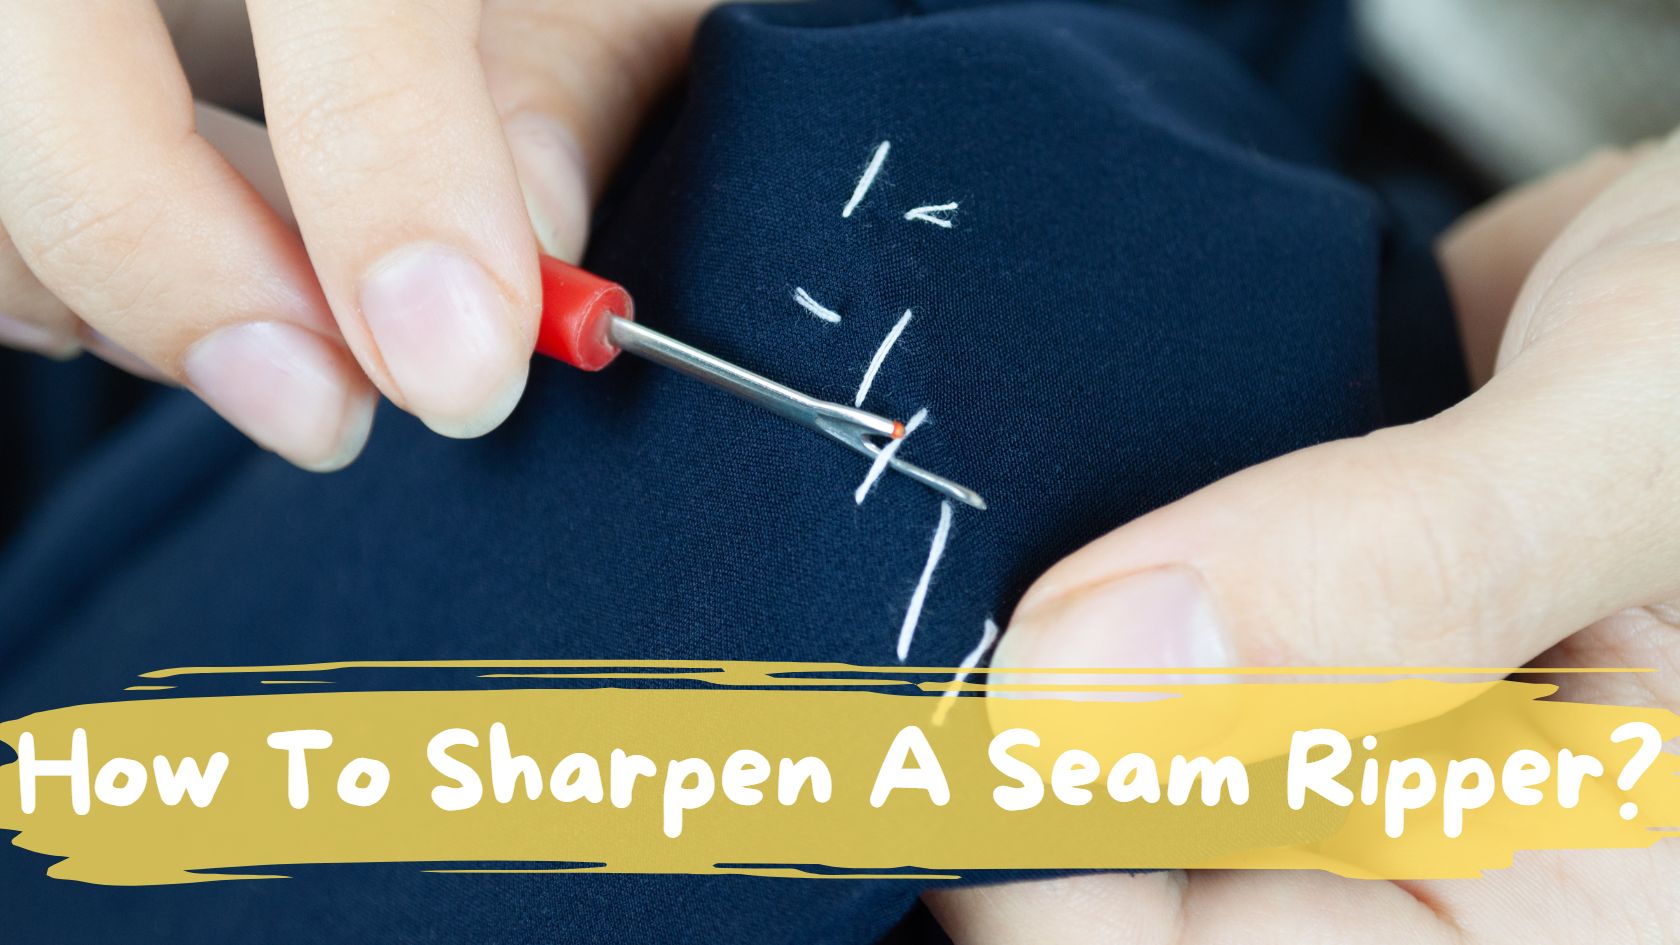
A seam ripper is an essential tool for removing stitches, either by hand or with a machine. It consists of two parts: a sharp blade used to cut the thread and a curved hook used to grab and pull out individual threads. A good quality seam ripper should have a comfortable handle that fits your hand and be made of durable material. Seam rippers can save time when unpicking seams, repairing garments, undoing buttonholes, zippers, serging, etc., which can help you complete sewing projects faster. To ensure long-lasting use of your seam ripper, rinse it in warm water after each use and store it in a cool dry place away from heat sources. With proper care, your seam ripper will be a useful tool for many years.
History Of Seam Rippers?
Seam rippers were originally invented in the mid-19th century, though the exact details are unclear. By the early 20th century, seam rippers had become very popular for use in both home and industrial sewing. Early models were crafted from steel and wood, but modern versions are typically made of either plastic or metal. In recent years, new designs have emerged that feature improved ergonomics and better durability to make them easier to use and last longer.
What Is Sharpening?
Sharpening is the process of making a blade sharper and more durable. Seam rippers can become dull over time, so keeping them sharp is important for optimal performance. It’s best to use an abrasive stone or other specialty tool when sharpening your seam ripper. Be sure to be careful when sharpening and follow the instructions carefully to ensure that you do it correctly.
What Are Some Necessary Supplies Needed To Sharpen A Seam Ripper?
In order to sharpen a seam ripper, you will need an abrasive stone or other specialty tool, a cloth rag, and some lubricating oil, such as mineral oil. You may also want to have a container of water on hand in case the blade needs to be cooled down during sharpening. Additionally, you’ll need safety glasses in order to protect your eyes during the sharpening process.
Plus, a pair of tweezers can help you to more easily remove any wool fibers or thread that may have gotten stuck in the blade. It is also recommended to wear gloves when sharpening your seam ripper to protect your hands from the heat and potential scrapes and cuts. Finally, having a container nearby to store your sharpened seam ripper can be helpful as well.
How To Sharpen A Seam Ripper With A Steel Wool?
Sharpening a seam ripper with steel wool is an easy way to keep your seam ripper nice and sharp. This step-by-step guide will help you sharpen a seam ripper with steel wool in no time.
Step 1: Gather your materials. You will need a steel wool pad, the seam ripper, and a flat surface to work on.
Step 2: Place the steel wool pad onto the work surface and then place the blade of the seam ripper onto the steel wool pad. Make sure that you are pressing down evenly along its entire length.
Step 3: Move the blade back and forth on the steel wool in a sawing motion for roughly 30 seconds. This should be enough time to get an even sharpening across all parts of your blade.
Step 4: Once finished, remove your seam ripper from the steel wool and carefully inspect it to ensure that it is evenly sharpened. If there are any areas that have not been sharpened enough, repeat the motion with the steel wool until you have achieved a satisfactory result.
Step 5: Once satisfied, rinse off your seam ripper and wipe it down with a cloth to remove any remaining steel wool fibers. Your seam ripper should now be nice and sharp!
Now that you know how to sharpen a seam ripper with steel wool, you can keep your fabric-cutting tools in top condition for all of your sewing projects. This method is quick and easy and doesn’t require any special materials or skill level. Now get ready to start ripping those seams!
By following these steps, you can easily sharpen a seam ripper using only a steel wool pad — no extra tools required. Keep this guide in mind the next time you need to sharpen your seam ripper for optimal results. Happy sewing!
How To Sharpen A Seam Ripper With A Sandpaper?
If your seam ripper has become dull and is no longer able to cut through tough fabric, it’s time to sharpen it! Sharpening a seam ripper with sandpaper is an easy task that only requires a few steps. Here is the steps guide on how to sharpen a seam ripper with a sandpaper:
Step 1. Begin by gathering the materials you need: a piece of sandpaper, an old rag, and your seam ripper.
Step 2. Place the sandpaper on a flat surface such as a table or countertop. Make sure that it is securely affixed so that it does not move when you are using it.
Step 3. Take your rag and wrap it around your hand to protect your skin from any sharp edges while you work with the seam ripper. This will also help to reduce friction between your skin and the blade of the seam ripper while you are working with it.
Step 4. With one hand holding onto the handle of the seam ripper, use your other hand to guide the blade along the sandpaper. Make sure to keep the blade flat against the surface of the sandpaper and move it in a back-and-forth motion until you can see that the edge is sharpened.
Step 5. Once you have achieved the desired level of sharpness, carefully remove the seam ripper from the sandpaper. To ensure that your work was successful, test out your seam ripper by attempting to cut through some fabric scraps.
Step 6. If your seam ripper is still not as sharp as you would like it to be, repeat steps 4 and 5 until it has been properly sharpened.
Step 7. Discard any used sandpaper into a designated waste bin and store your freshly sharpened seam ripper in a safe place until you are ready to use it again.
By following these steps, you will be able to sharpen your seam ripper with sandpaper in no time. Make sure that you take extra care when handling the blade of the seam ripper in order to avoid any accidents or injuries. Be prepared for a little bit of hard work and patience, but the results will definitely be worth it! With a sharpened seam ripper, you’ll be able to tackle tough sewing tasks quickly and efficiently.
How To Sharpen A Seam Ripper With A Bead Reamer?
Using a bead reamer to sharpen your seam ripper is a simple and effective way to ensure that it is always up to the task of making precise cuts. Here are the steps you should follow when sharpening your seam ripper with a bead reamer:
- Start by cleaning the blade of any debris or lint. This will help ensure optimal results once you start using the bead reamer.
- Position the bead reamer at an angle against the side of the blade so that it makes contact with both sides at once. Make sure not to press too hard, as this can damage the edge of your seam ripper’s blade.
- Hold down pressure on the bead reamer and move it along the length of the blade in a consistent manner.
- Once you have gone back and forth over the entire length of the blade, turn your seam ripper over and repeat this process on the opposite side.
- After repeating this process several times, your blade should be sharp enough to make precise cuts.
Using a bead reamer is one of the simplest methods for sharpening your seam ripper’s blade and will help ensure that it remains up to any task you may encounter while sewing. Follow these steps regularly to maintain your tool’s optimum performance level!
Now that you know How To Sharpen A Seam Ripper With A Bead Reamer, you can keep your seam ripper in top condition for all of your sewing projects.
How To Sharpen A Seam Ripper A Honing Steel?
Sharpening a seam ripper with a honing steel is an easy and effective way to keep your seam rippers sharp for precise cutting. Here’s how you can do it:
1) Start by holding the honing steel in one hand and positioning the seam ripper against the length of the steel, with its tip pointing away from you.
2) Use your other hand to slowly guide the seam ripper down the length of the honing steel at around a 20-degree angle. Ensure that the blade remains in full contact with the surface of the honing steel throughout this process. You may need to use light pressure on both sides of your blade as you move it along, which will help to maintain the angle and remove any burrs on the blade.
3) Repeat this up-and-down motion at least 10 times, until you have achieved a razor sharp edge on your seam ripper. You may find that it takes more or less than 10 passes depending on the initial condition of your blade.
4) To finish off the honing process, guide your seam ripper along the length of the steel in one smooth pass. This will help to realign any microscopic teeth in your blade and ensure that it is as sharp as possible.
By taking these steps you can easily sharpen a seam ripper with a honing steel to ensure that it cuts fabric precisely and accurately every time! If you have any questions about honing a seam ripper, consult an experienced professional for help.
How To Sharpen A Seam Ripper With An Emory Board?
To sharpen a seam ripper with an emory board, you will need the following materials:
– An emory board
– Seam ripper
– Water or oil lubricant
After gathering the necessary materials, here is a step-by-step guide on how to sharpen a seam ripper with an emory board:
Step 1: Start by wetting the surface of the emory board. This will help to give your seam ripper a better grip and make it easier to work with.
Step 2: Place the tip of the seam ripper onto the emery board and gently rub in small circular motions. You want to avoid making too deep or wide of strokes as this can damage your tools.
Step 3: Continue to rub until you have achieved a sharp edge on your seam ripper. Depending on how dull the tool was to begin with, you may need to repeat this process a few times.
Step 4: Make sure to lubricate your seam ripper before and after sharpening to avoid rusting or corrosion.
Step 5: Once you have finished sharpening, wipe your tools down with a cloth and store them in a safe place away from moisture.
Following these steps can help keep your seam ripper in top condition for years of use! With proper care and maintenance, your seam ripper should remain sharp and easy to use. Happy sewing!
How To Know When The Seam Ripper Is Properly Sharpened?
The best way to know if your seam ripper is sharpened properly is by testing it on a scrap piece of fabric. Start by running the blade across the fabric and observe how easily it moves through. If the blade skips or slides, it means that it needs more sharpening. However, you should be careful not to over-sharpen the seam ripper as this can damage the blade.
To sharpen a seam ripper, you will need a sharpening stone or whetstone. Use the rough side of the stone to start with and make sure to wet it thoroughly first. Hold your seam ripper at a 20-degree angle against the stone and slowly move it from side to side in an up-and-down motion. Once you have achieved an even edge on both sides of the blade, switch over to using the finer side of your sharpening stone for more precision results.
After honing your blade, test it out on a scrap piece of fabric once again to ensure that it is properly sharpened. The ideal result should be a smooth, effortless glide of the blade through the material. If you find that it is still not gliding properly, continue sharpening until desired results are achieved.
Sharpening your seam ripper can sometimes seem daunting and time-consuming, but when done correctly and regularly it will pay off in the long run with more precise and efficient cutting results. It is also important to keep in mind that a sharpened seam ripper blade might be too sharp for some fabrics so always test it on fabric scraps first before using it on an actual project. With these tips in mind, you will be well on your way to sharper seams!
What Are Some Tips To Sharpen A Seam Ripper Successfully?
Sharpening a seam ripper is key to ensuring the tool can accurately and cleanly cut through materials. Here are some tips to ensure you sharpen your seam ripper successfully:
- Be gentle – it is important to be delicate when sharpening a seam ripper, as it is easy to create an uneven edge or even damage the blade. Use short, controlled strokes when sharpening and avoid pushing down too hard on the blade.
- Consider replacing – Over time, it may become necessary to replace rather than sharpen your seam ripper if it has become overly dulled or damaged from use. Buying a new one is often more cost effective than attempting to reshape a worn out blade.
- Use small, controlled movements – Before sharpening, open the seam ripper so that there is room to work with. Gently rub or file the blade in one direction using small strokes and make sure to keep a consistent angle for even sharpening results.
By following these tips, you can successfully sharpen your seam ripper in order to ensure it works optimally when cutting fabric and other materials. If you need any further guidance on how to sharpen a seam ripper, consult an expert who will be able to provide helpful advice on best practices.
What Are Some Benefits Of Using Steel Wool To Sharpen A Seam Ripper?
Using steel wool to sharpen a seam ripper is an easy and effective way to keep your tool in top condition. Steel wool offers several benefits compared to other methods of sharpening, including improved accuracy, extended blade life and less mess. With a few simple steps, you can easily maintain the sharp edges of your seam ripper and make sure it’s always ready for use.
One of the main benefits of using steel wool to sharpen a seam ripper is its ability to provide precise, consistent results. By running the blade back and forth along the length of a small section of steel wool multiple times until it’s noticeably sharper, you can quickly restore an edge that has become dull with minimal effort or risk of damaging the blade.
Steel wool also helps to extend the life of your seam ripper’s blades by removing any build-up of dust and thread, which can dull and damage a blade over time. Steel wool is extremely fine, allowing it to efficiently remove such debris without damaging or scratching the steel. Additionally, because it’s made from metal itself, steel wool won’t shed fibres like paper or cloth would when used for sharpening.
Finally, using steel wool to sharpen your seam ripper is also an incredibly clean process that requires no additional tools or supplies besides the steel wool itself. There are no liquids or oils required as with some other sharpening methods, so there’s less mess to worry about and no risk of damaging other surfaces in the process.
Overall, steel wool is an ideal choice for sharpening a seam ripper due to its accuracy, effectiveness and convenience. By following a few simple steps and running your blade along a section of steel wool multiple times before each use, you can easily maintain the sharp edges of your tool and ensure it’s always ready for use. With proper maintenance, you can extend the life of your seam ripper blades and keep them performing at their best.
How Often Should You Sharpen Your Seam Ripper?
It is recommended to sharpen your seam ripper once a month in order to keep it sharp and effective. This will ensure that the blade operates smoothly for precise cuts and reduces the need for additional force when performing tasks. For optimal performance, you should also check the condition of the blade frequently and sharpen it as needed.
FAQs About How To Sharpen A Seam Ripper
What Are The Different Types Of Seam Rippers?
Today there are many different types of seam rippers available on the market. Most seam rippers come with a removable blade or hook so you can swap out blades or hooks depending on your project needs. The types of blades and hooks vary in size, shape, and material, so you can find one that suits your project best. Additionally, there are also specialty seam rippers available such as left-handed seam rippers or large-work seam rippers for heavier fabrics.
When Should You Use A Seam Ripper?
A seam ripper should be used when you need to remove stitches from a garment or fabric without damaging the material. It is especially useful when removing zippers, buttons, or serging from thicker materials. However, it is important to note that using a seam ripper can result in frayed edges on delicate fabrics if it is not used with care; therefore it’s always important to test the seam ripper on a scrap piece of fabric first.
How Does A Seam Ripper Get Dull?
A seam ripper can become dull over time from regular use, but it can also be damaged by improper sharpening or storage. Poor quality and/or overly aggressive sharpening material such as sandpaper, stones or files can cause the blade to become chipped or misshapen.
Can You Use Any Type Of Abrasive Material To Sharpen Your Seam Ripper?
It is best to avoid using abrasive materials when sharpening a seam ripper as they could potentially damage the blade. Steel wool is the recommended method of sharpening as it won’t scratch or chip the steel.
Can You Sharpen A Seam Ripper With A Motorized Sharpener?
Yes, you can use a motorized sharpener to sharpen a seam ripper. However, it is important to use a sharpening guide or jig to ensure the blade remains in the correct angle and position when sharpening.
Can You Sharpen A Seam Ripper With A Sharpener Designed For Other Blades?
Yes, many knife and tool sharpeners can be used to sharpen your seam ripper as long as they are designed for use with metal blades. It is important to follow the manufacturer’s instructions closely when using such sharpeners as the wrong technique could cause damage to the blade.
Can You Sharpen A Serrated Seam Ripper?
Yes, you can sharpen a serrated seam ripper with steel wool. However, due to the serrations, it may take longer to sharpen the blade as you need to run the steel wool through each individual groove multiple times.
What Is The Red Dot For On A Seam Ripper?
The red dot on a seam ripper indicates which end of the tool is used for cutting threads and fabrics. It is important to orient the blade in this direction when sharpening or using the tool.
What Can You Use Instead Of A Seam Ripper?
A pair of small scissors can be used as an alternative to a seam ripper when dealing with delicate fabrics such as silk or organza. Scissors are also ideal for removing smaller details from garments, such as buttons and zippers.
What Is The Difference Between A Seam Ripper And Stitch Ripper?
A seam ripper is a tool used for cutting threads and fabric, while a stitch ripper is a tool specifically designed for removing stitches from garments or other fabrics. Both tools are similar in design but serve different functions.
How Do You Take Care Of A Seam Ripper?
In order to maintain the sharpness of your seam ripper, it is important to store it safely when not in use and sharpen it regularly with steel wool. Additionally, you should avoid using the tool on hard surfaces such as concrete or metal and avoid getting any liquids on the blade that could potentially cause corrosion.
Conclusion On How To Sharpen A Seam Ripper
In conclusion, sharpening a seam ripper is a simple and inexpensive process that requires only a few tools. With patience and practice, it can be done in just minutes. Furthermore, having a sharply honed seam ripper will improve the quality and accuracy of sewing projects which will save time and money in the long run. If you’ve been putting off sharpening your seam ripper because of the time or money required to do it– don’t put it off any longer!
We hope this guide has helped you understand how to sharpen a seam ripper and the importance of doing so regularly. Taking good care of your tools is essential when working with fabrics and other materials, so it pays off to invest in regular maintenance. Remember that using the wrong sharpening material or technique can damage your blade, so take extra precautions when sharpening your seam ripper.
References:
3 Ways to Remove Clothing Labels – wikiHow
Sewing Machines: Cleaning and Adjusting